

I used 1 x 4's to make the frame. Mark the 1 x 4 at 24" and cut. Repeat so you end up with two pieces of this size.


Then measure to 43" and cut. Repeat so you have two pieces of this size.

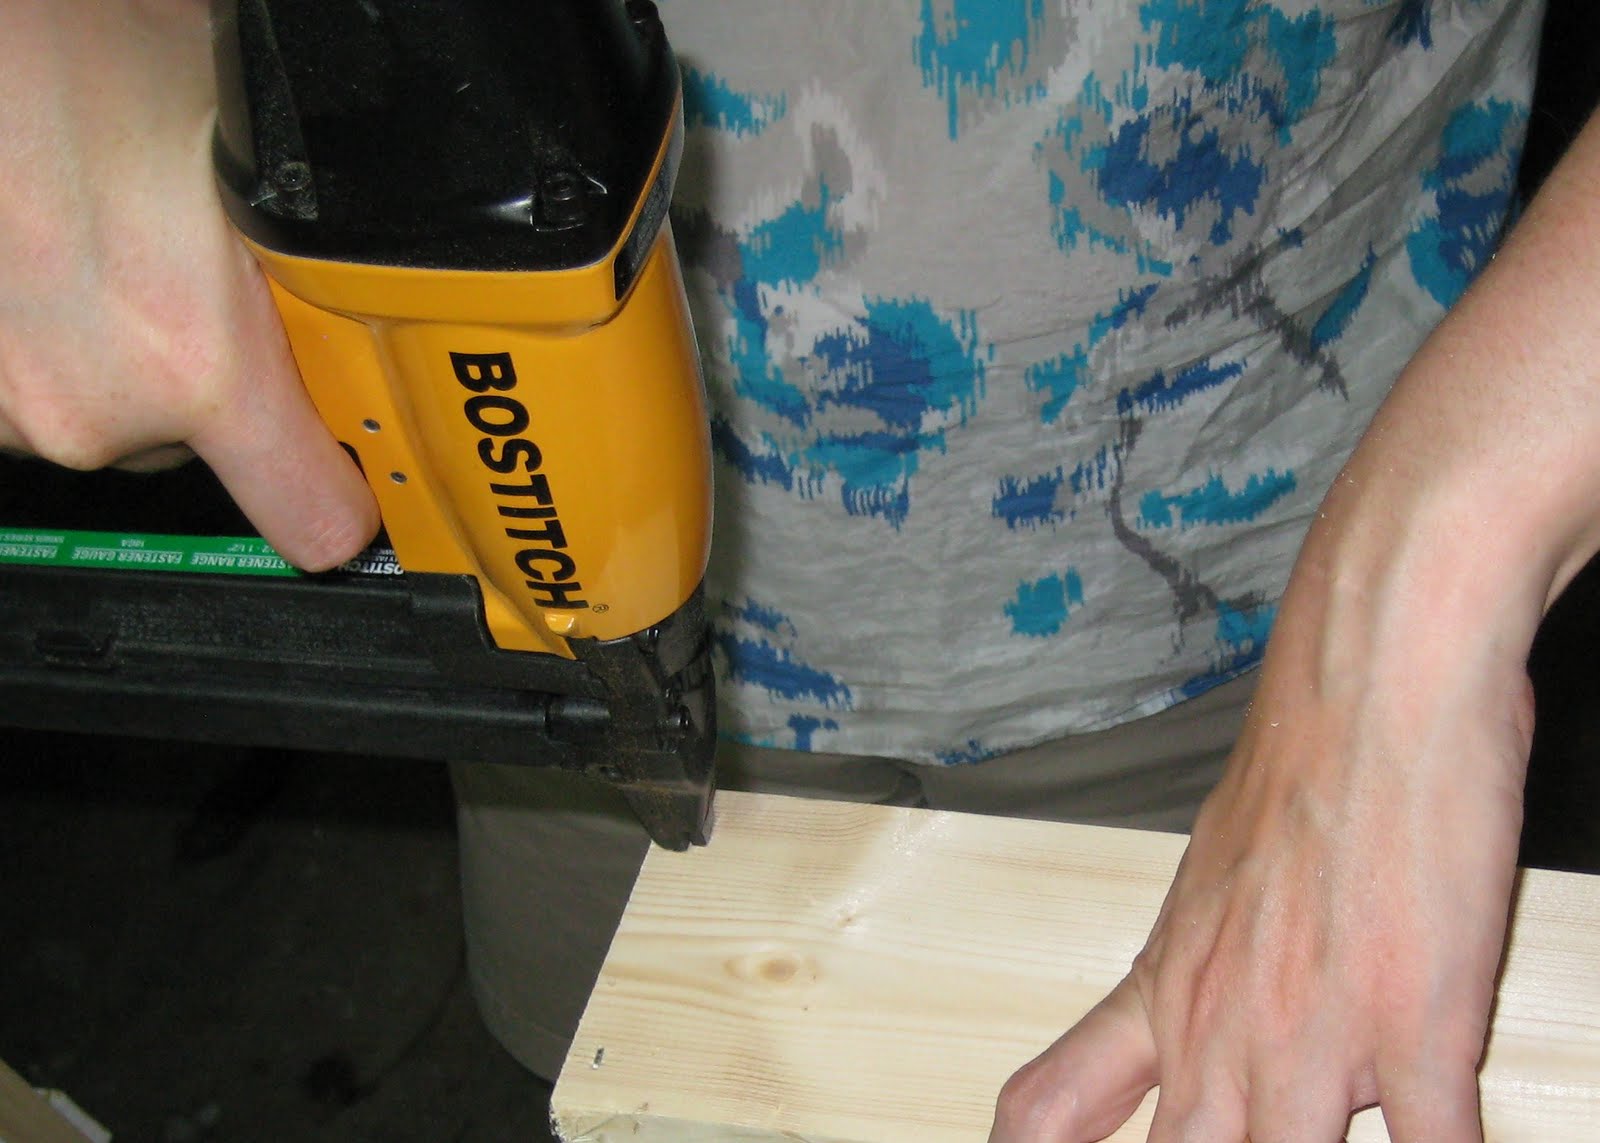
I used glue to give it a stronger bond before I used the staple gun.

Staple wood pieces together to make the frame.
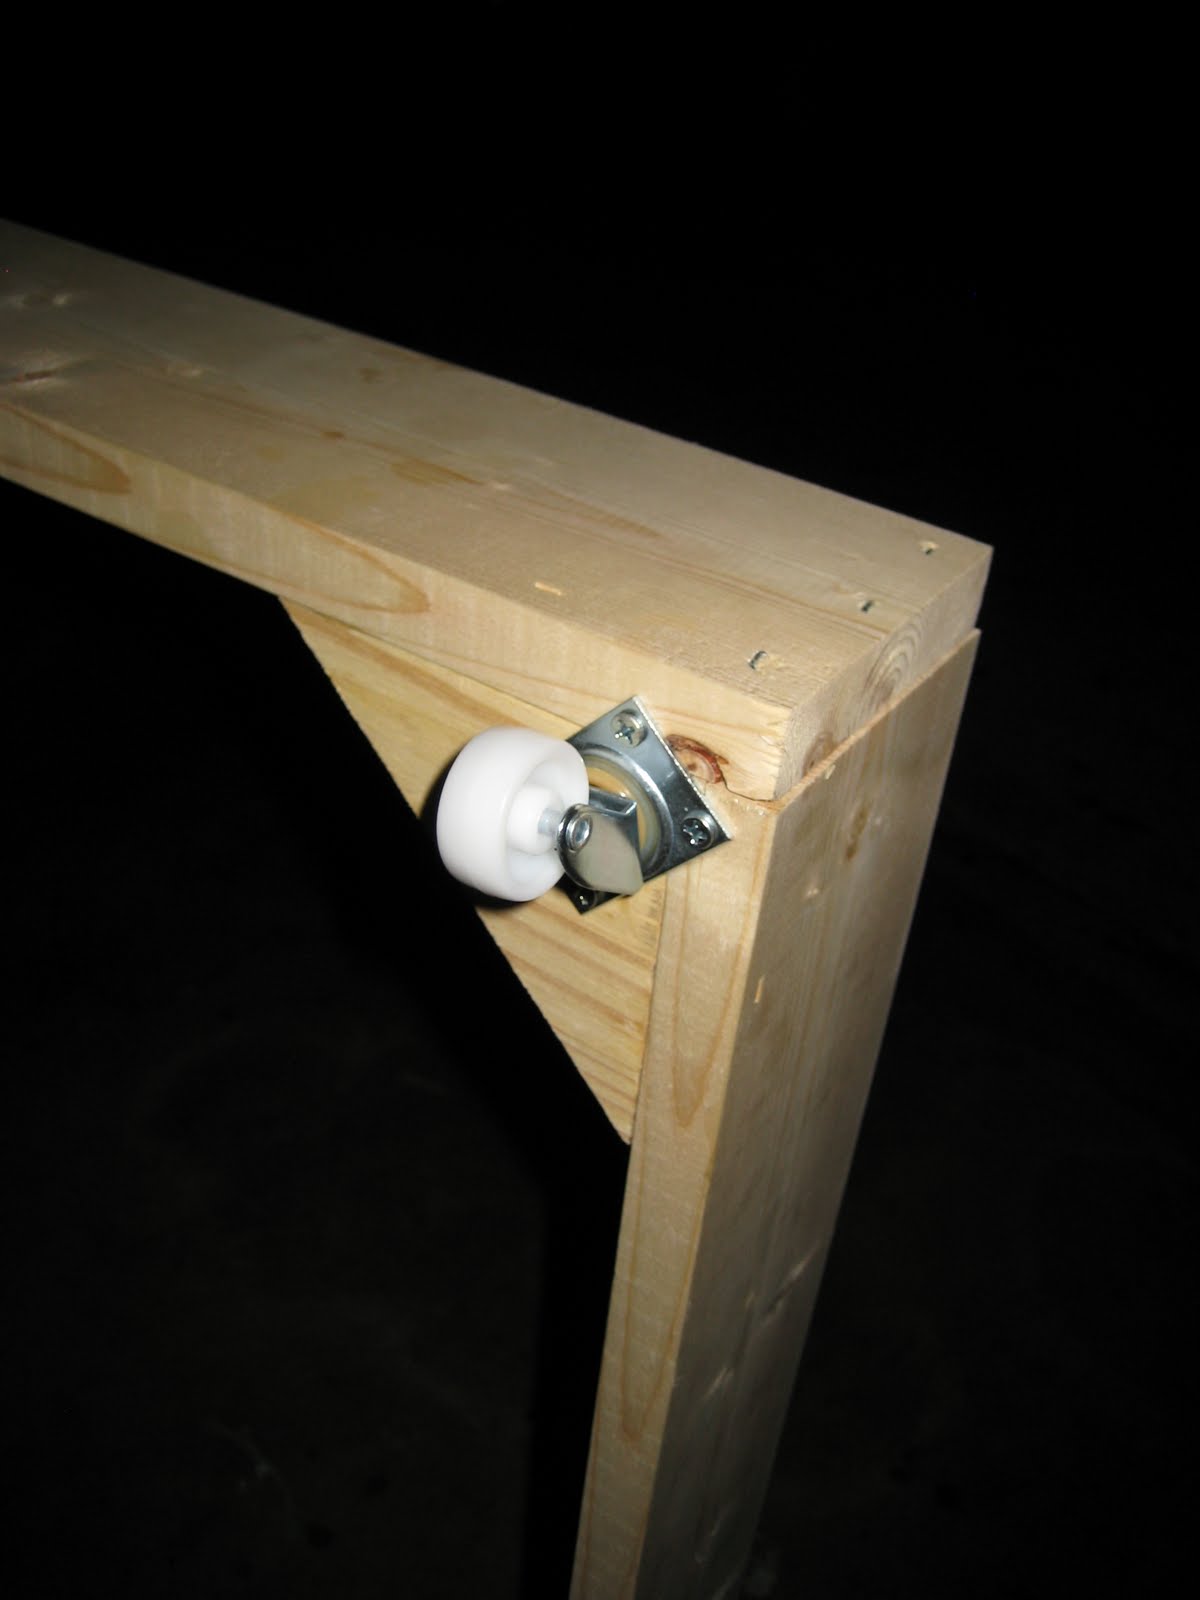
Now you need to cut four 45 degree triangles for the corners. This allows for the inside frame to have support and will be where we install the casters.


I used glue again and then stapled it into the corners.


Attach 4 small casters in each corner.

Here is what we have so far. Now we are going to move on to the inner frame that will support the foam mattress.

I used 1 x 2's for the inner frame. You will make this frame slightly smaller. Measure your inside dimensions of your 1 x 4 frame and take a half inch off the length and width. Measure your 1 x 2 and cut the 4 pieces out.

Glue and staple frame together.

Now you are ready to attach the jute onto the frame. Measure out your frame and decide how many pieces of jute you think you'll need. I ended up using 4 pieces running the length of the frame and 8 pieces running the width. Staple them to the edge of your frame. Space them evenly.


Now you will need to weave the jute through and staple at the edge.

Here is the backside of the frame. This shows you the location of where I put the staples. You will need to put in two extra supports running the width of the frame so that it gives it a little more support. I don't have a picture showing this step, but if you have questions let me know.

Now set in frame to see if it fits.

The next step is to fill and sand the edges. Then you are ready to paint the frame.

Now install the handle on the side. For the mattress I used 3" thick foam. I cut it to size using an electric bread knife. This is the easiest way to cut through foam. It slices it like butter. Place the foam on top of the jute frame. The bed is essentially complete. Sheets will need to be made to fit since it is an unusual size. I found instructions here to make your own fitted sheets. Also, you might want to consider making a waterproof mattress cover as well since it is a toddler bed. To complete the project I made the comforter and pillow case.

My daughter has already put it to use as you can see.

Great idea! Where did you get the jute fabric?
ReplyDeleteI actually bought it through an online fabric store where they sold it by the yard. I don't remember the store's name, but search for Jute Webbing in a search engine and it should find it.
ReplyDeletewow, amazing job!
ReplyDeleteThat was a helpful tutorial you got there! Thanks a lot.
ReplyDeleteThis is an amazing idea!! Makes me wish my kids were little again. :)
ReplyDeleteGreat idea. I think I now know what to do with the crib mattress when my youngest moves to a big boy bed this fall, this will be perfect. Thank you :)
ReplyDeletewhat a cool Idea for grandma's who get to have their kids stay over and for the guest rooms in grandma's house
ReplyDeleteYou are wonderful the way you come up with all these ideas. I do enjoy you little stoies.
ReplyDeletecastors & Total Lock Casters
What type of wood did you use for this? Do you think pine would work, or should I use a harder wood? I'm also curious about what you did for the supports of the inner (mattress) frame? Thanks!!
ReplyDelete