Thursday, September 30, 2010

Delicious


 I have some delicious cantaloupe bread that I wanted to share with you all.  I know some of you are thinking, what cantaloupe bread?  It really is wonderful and you must give it a try.  This recipe is perfect for cantaloupe that has gone just a tad too ripe. Here is the recipe for Cantaloupe Bread with Praline Glaze if you'd like to give it a try.

Tuesday, September 28, 2010

So behind

I feel like I'm so behind.  I've been focusing on my projects for SYTYC and haven't really had a chance to work on much else.  I can't wait to show you what I've been working on, but it will have to remain a secret until it has been voted on. I did get another apron done this weekend.  I can't even tell you how many aprons I have made anymore.  Sad, I know. 

Friday, September 24, 2010

Double Up

Here is a an awesome piece of furniture that doubles as a bench with or without a back. It is made by an Italian company, Sturm und Plastic. You can find more of their furniture here.

Tuesday, September 21, 2010

Girl's Shirt

I picked up a pattern for a shirt about a month ago and I thought I should probably make it before it is out of season.  This pattern was a little more difficult than I anticipated and I needed to seek expert advice from my mom to figure out what the directions were saying.  I really need directions to spell it out for me! As my mom pointed out I don't exactly read every word.  I'm more of a skimmer.  So, there were a few mistakes while sewing, but overall I think it turned out pretty cute.  My daughter loves it, but that might be because it has hearts all over it. 

Monday, September 20, 2010

Knitted Purse

I've been knitting a purse for my sister using the Emily pattern from Stripes-n-Polka Dots.  It still isn't completely done, but most of the knitting is complete.  Then I will throw it into the washing machine to felt it. Once that is complete I will add the lining and handles. I'm hoping to finish it in the next few weeks.

Friday, September 17, 2010

Nest Chair

The Nest Chair was designed by Nina Bruun.  It definitely looks like more of an art piece than something you would hang out and watch TV in.  She was inspired by the changing of seasons and nature when she designed the nest chair.  Nina Bruun is a designer based out of Copenhagen and is finishing up her design masters at the Danish School of Design.  You can find more of her designs here.

Wednesday, September 15, 2010

Official SYTYC Crafter


My project of the toddler trundle bed got me into the competition and I will be one of the crafters for SYTYC Season 5.  Yay! I'm so excited to start coming up with ideas for the upcoming projects. I'll let you know when the first theme is up and encourage you to go vote for your favorite project.

Tuesday, September 14, 2010

Toddler Trundle Bed Tutorial

Today I'm going to show you how I constructed the toddler trundle bed that I created for the SYTYC audition.

First, I measured the space under my queen bed to see how much space I had to work with. It ended up being approximately 24" x 44" if I wanted to clear my nightstand.  The height could be a maximum of 6" tall. I have included quite a few pictures to show you the process step by step.  Please pardon the messy garage. 
I used 1 x 4's to make the frame.  Mark the 1 x 4 at 24" and cut. Repeat so you end up with two pieces of this size.


Then measure to 43" and cut.  Repeat so you have two pieces of this size.


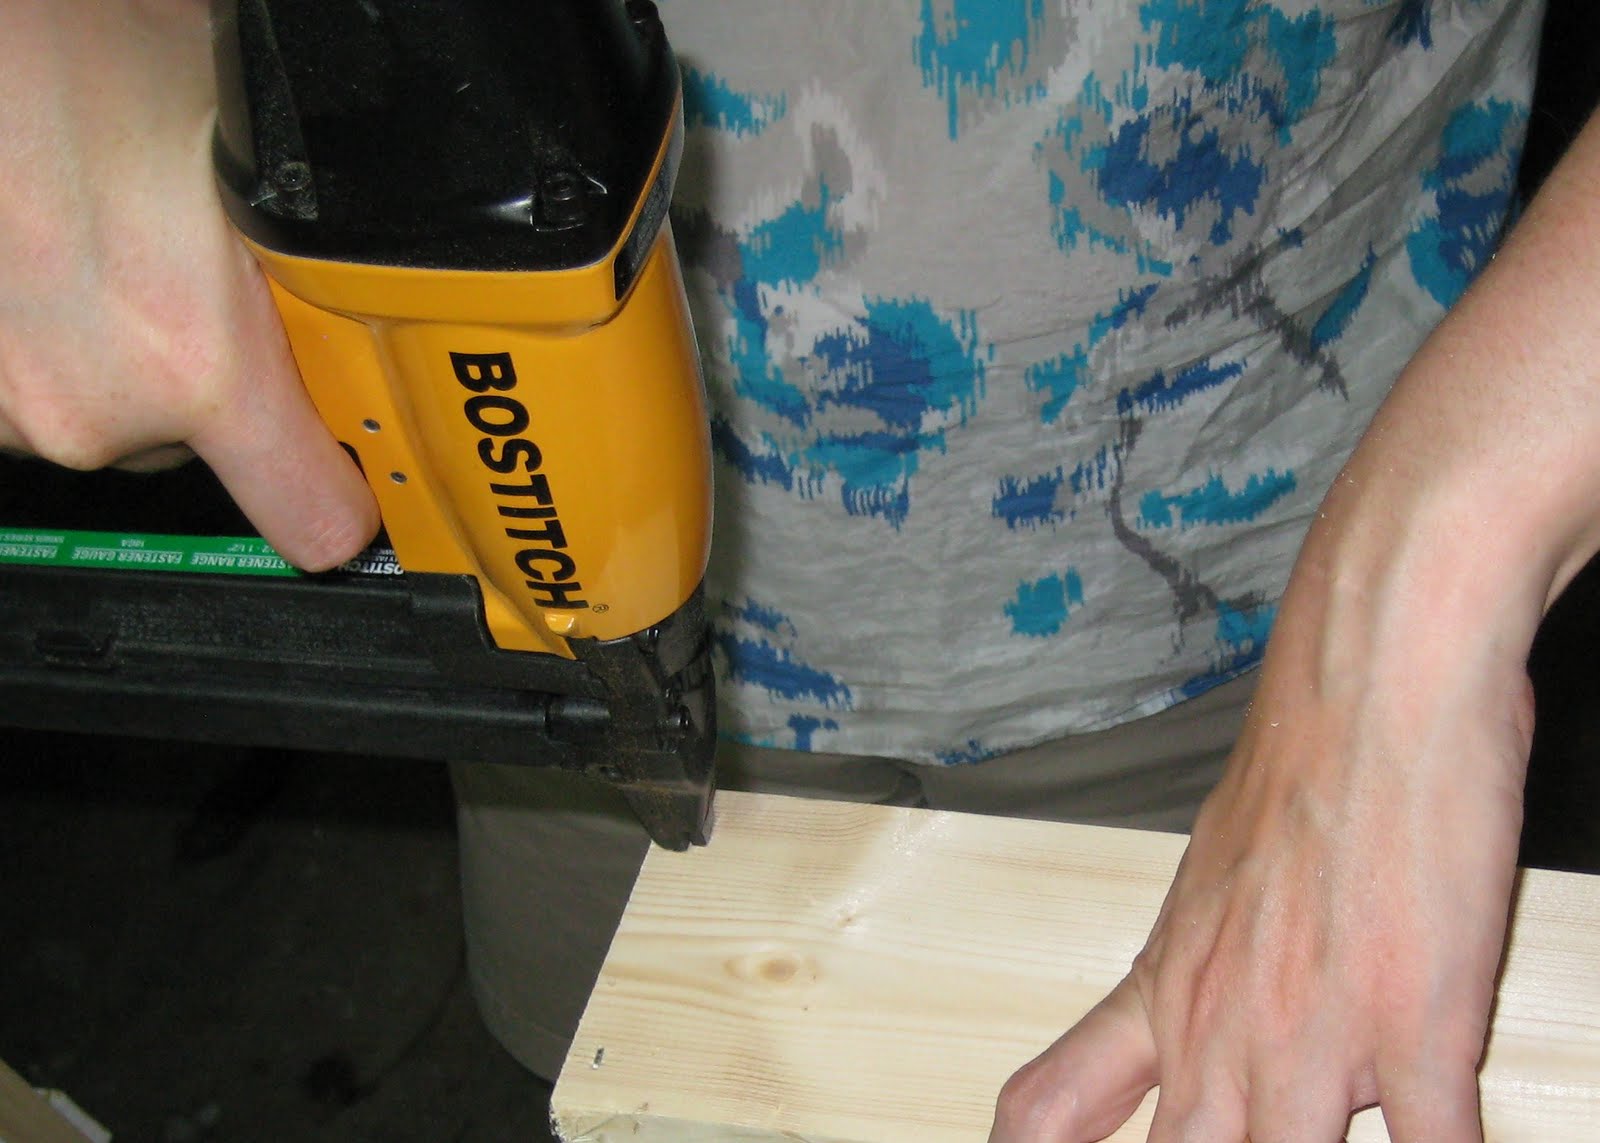
 I used glue to give it a stronger bond before I used the staple gun.


Staple wood pieces together to make the frame.


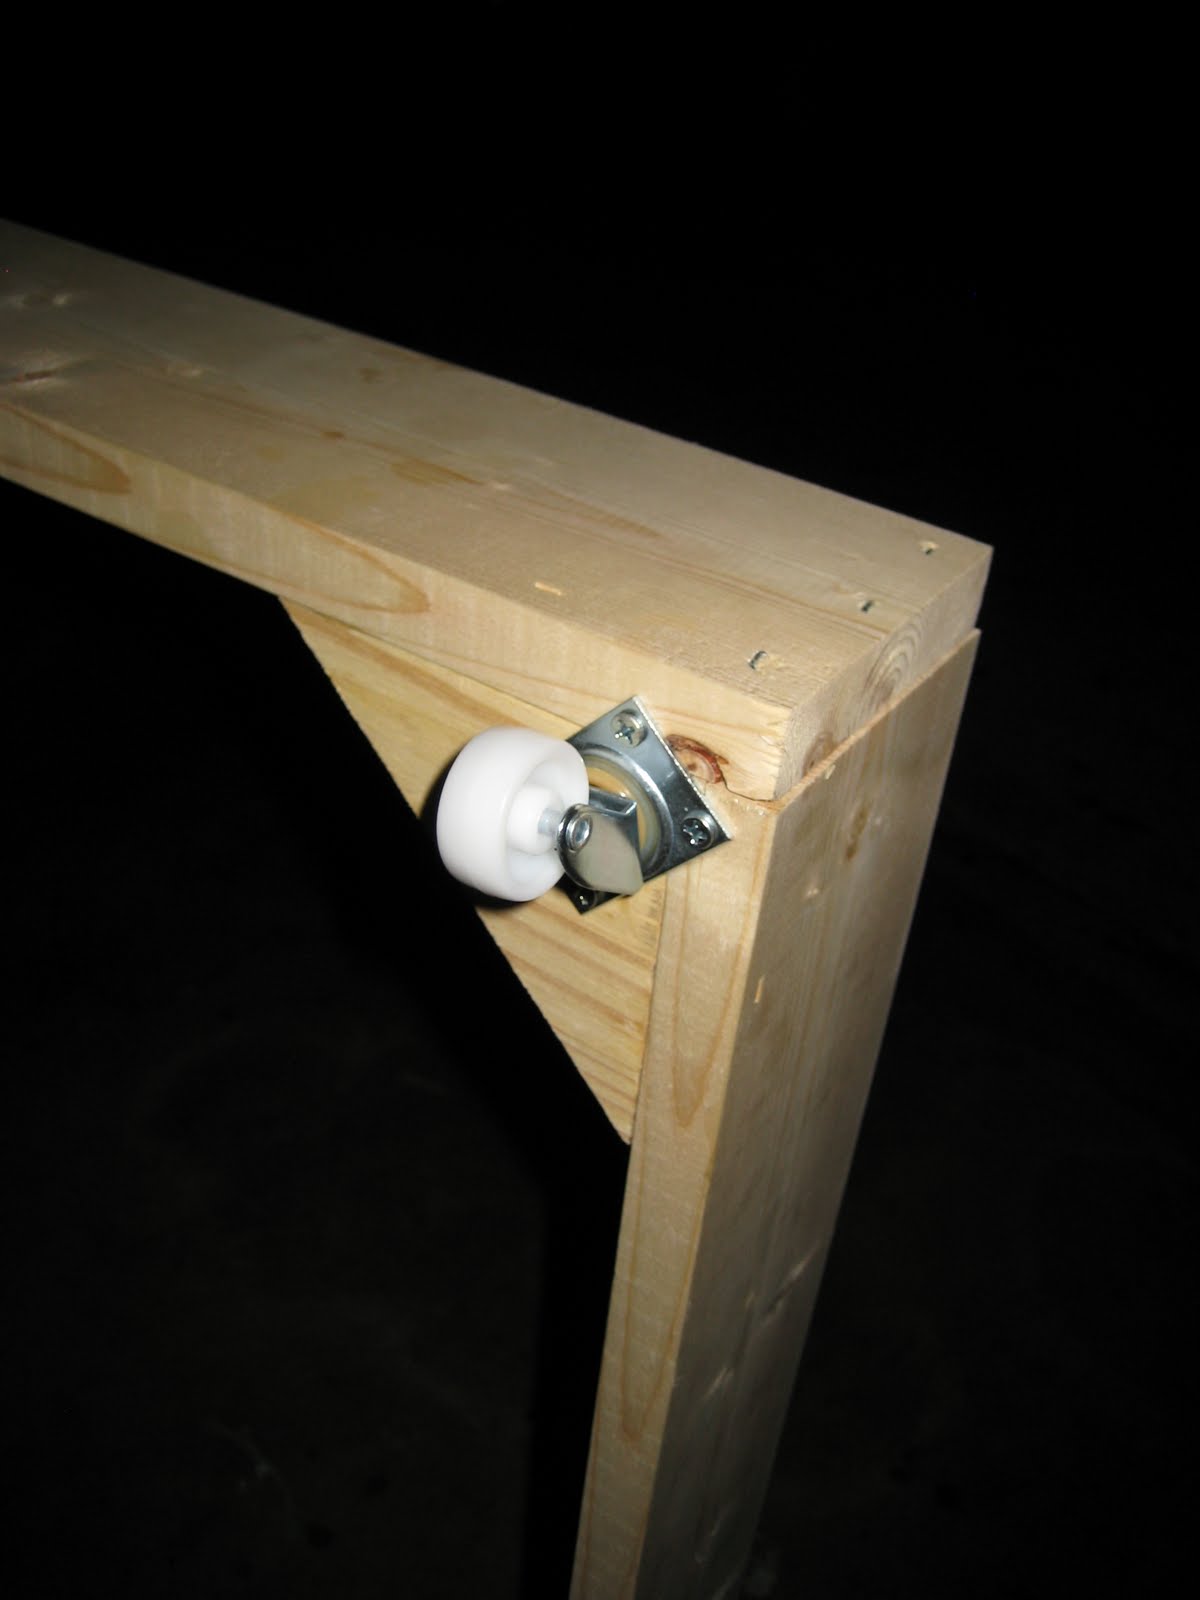
Now you need to cut four 45 degree triangles for the corners.  This allows for the inside frame to have support and will be where we install the casters.

 
I used glue again and then stapled it into the corners.


Attach 4 small casters in each corner.


Here is what we have so far.  Now we are going to move on to the inner frame that will support the foam mattress. 

I used 1 x 2's for the inner frame.  You will make this frame slightly smaller.  Measure your inside dimensions of your 1 x 4 frame and take a half inch off the length and width. Measure your 1 x 2 and cut the 4 pieces out.


Glue and staple frame together.


Now you are ready to attach the jute onto the frame.  Measure out your frame and decide how many pieces of jute you think you'll need.  I ended up using 4 pieces running the length of the frame and 8 pieces running the width. Staple them to the edge of your frame.  Space them evenly.


 Now you will need to weave the jute through and staple at the edge.


Here is the backside of the frame.  This shows you the location of where I put the staples. You will need to put in two extra supports running the width of the frame so that it gives it a little more support.  I don't have a picture showing this step, but if you have questions let me know.


Now set in frame to see if it fits.


The next step is to fill and sand the edges.  Then you are ready to paint the frame.


Now install the handle on the side. For the mattress I used 3" thick foam. I cut it to size using an electric bread knife. This is the easiest way to cut through foam.  It slices it like butter.  Place the foam on top of the jute frame. The bed is essentially complete.  Sheets will need to be made to fit since it is an unusual size.  I found instructions here to make your own fitted sheets.  Also, you might want to consider making a waterproof mattress cover as well since it is a toddler bed.  To complete the project I made the comforter and pillow case.


My daughter has already put it to use as you can see.

Monday, September 13, 2010

Toddler Trundle Bed

I recently auditioned for SYTYC and this is the project I submitted.  This project was inspired by a scared child who comes to her parents' bed in the middle of the night.  It's almost impossible to sleep with a child and not have an elbow or foot in the middle of your back or face.  I thought wouldn't it be great if we had a toddler size trundle bed to go under our bed.


A very simple project using 1x4's, casters, jute webbing and foam.  This lightweight trundle bed has a foam mattress that sits upon a woven jute webbed frame.  The casters allow for it to roll out easily from under the bed by pulling on the silver nickel handle. I finished it off by making a cute little pillow and comforter.


Be on the lookout for a tutorial on how to make this bed.  It should be posted in the next few days.


Friday, September 10, 2010

Livingstones Lounge


These cool looking rocks are for lounging.  They can be used outdoors as well.  The livingstones lounge collection was designed by Stephanie Marine.  You can find more of work here.

Wednesday, September 8, 2010

Intarsia Knitting

I tried my hand at knitting an intarsia piece.  If you are not familiar with intarsia it is a design or picture that is knitted in a different color on the item.  I tried it with the Texas dishcloth pattern that I knitted up a few months ago.  Wow, what a mess.  I had so many strands of yarn off of it that it was such a tangled mess every time I turned around. I probably also need to figure out how I ended up with some red yarns in the blue sections when that wasn't my intention.


All in all it is not too bad for my first try at it.  At some point I should probably take a knitting class to see what I'm doing wrong. 

Tuesday, September 7, 2010

Drawstring Bag


Remember the birthday party that we were invited to that was for a boy? I strayed from my usual gift of aprons and went with something different.  I made a drawstring tote bag that Dana from Made had developed for Celebrate the Boy.  It is so easy and turned out pretty cute. You can find the tutorial for the bag here.  I added the circle patch and painted his name on it.  I found the robot at the craft store and ironed him on as well. It's a great little bag that carry around small toys or you could even use it as a lunch sack.

Monday, September 6, 2010

SYTYC Audition

I hope everyone had a nice Labor Day weekend!  I was excited to finish up my audition project for the SYTYC competition.   It is up and ready to be voted on.  Please go to the site and vote if you get a chance.  I can't tell you which project is mine, but I hope to be one of the 10 lucky crafters.  Next week on my blog I will have a tutorial up for the project that I submitted.  Stay tuned.

Friday, September 3, 2010

Pencil Bench

School has officially started for my daughter and while I was looking for furniture to post, I stumbled upon this cool pencil bench. The seat is made of 1600 pencils.  The Pencil Bench was designed by Boex 3D Creative Solutions.  You can find more of their design work here.

Wednesday, September 1, 2010

Custom Charms

My husband bought me a Pandora bracelet and I have been slowly adding charms to it.  I really wanted to have my kids' names on a charm.  I immediately went to my favorite site, Etsy and found a shop that made personalized jewelry for Pandora type bracelets. I asked Tammy about designing a custom charm for my bracelet.  She made these beautiful charms for me and they look perfect on my bracelet. You can find more of her personalized jewelry at her shop on Etsy.  My custom order has now become a featured item in her shop.  How cool!