Showing posts with label tutorial. Show all posts

Friday, February 7, 2014

Upholstered Cornice

I've been on a long blog break. Don't worry I had plenty to keep me busy. My hiatus consisted of getting my house ready to sell in Texas (huge job), keeping my house clean for showings (next to impossible with kids), living without my husband while he started work in Ohio (hated it), finding a new house in Ohio, preparing for the house to be packed up and moved (so thankful the company took care of that part) and then unpacking everything in the new house in Ohio. I can't tell you how ecstatic I am that there is a basement and I can just hide all the boxes I don't want to unpack yet down there. Now that things have settled down, I'm hoping to post more on the blog again.

First project for the new house, an upholstered cornice. The house has sliding doors in the back with vertical blinds which are NOT my favorite! I considered switching to draperies, but with 2 dogs and 2 kids I didn't think they would stay clean. I opted for the upholstered cornice.
They are so easy to make and don't require any sewing.

Materials
Wood (for frame)
L brackets 
Batting
Fabric

1. Build the cornice out of wood.  I used a 12" width so I could cover the track for the vertical blinds and give the sliding glass door some balance. My frame came off the wall 8" on the sides. You can adjust the measurements for your window. 

2. Attach batting to the front of the cornice board. I doubled the thickness of the batting and wrapped it around the edge and stapled it to the back. 

3. Next staple the fabric to the cornice board. I stapled it on all the edges in the back to get the fabric centered. During this step you need to make sure you pull the fabric tight to give it a nice flat appearance. 


4. I like my cornices to look nice on the back as well. I used white fabric and covered the back and attached it with hot glue. It hides the staples.


5. Attach L brackets to the cornice and install to the wall.


Wednesday, November 24, 2010

Fish Hat Tutorial


I finally had time to put together the fish hat tutorial for you all.  I think it's a great hat and really you could probably make all kinds of different animals for hats by using this basic hat shape.  All the kids that tried the hat on loved it.  You may need to make it bigger or smaller depending on the child's head size.

Materials:
1/2 yard Fleece Fabric - main color
1/4 yard Fleece Fabric - accent color
2 " strip of Velcro
Coordinating thread
Fiber fill
Google Eyes


The pattern is available through Scribd.  If you are printing in Adobe Acrobat Reader, please make sure page scaling is set to NONE in the print menu. 


Fish Hat Pattern


Lay out the fabric and cut out the pattern pieces for the hat.

Then cut out the fins, tail, lips on the accent color.

I used the main color on the fins, tail and lips too.  You just need to cut the same pieces out slightly larger than you did on the accent color.  Then you will sandwich it in between the accent color. I'm letting you know ahead of time though that it gets tough to sew through that many layers of fleece.  So you might want to use felt.


Start sewing the tail pieces together.  Do the same with the fins and lips. Stuff the tail and fins with fiber fill.


Next we will start assembling the hat.  Sew 2 of the quadrant pieces together, then sew the other 2 together.

Now place the tail and top fin on the inside with the right sides together.  Pin and sew together.


Flip the hat out and sew the lips to the front.
 

Sew the fins on the side.  Center middle of fins with side seam and sew.

Sew two pieces of the ear flaps together and turn right side out. Repeat for the other side.

Attach side flaps to sides of the hat.  Center the middle of the flap with the side seam of the hat and sew in place.

Sew fleece lining together.  Leave a 2" gap in the top between where the top fin and back fin are on the hat.  This will allow you to pull it through at the very end.

Pin lining to fish hat with right sides facing each other.  It will look like a ball when you are doing this step.

Sew together.

Turn inside out by pulling through the hole you left in between the tail and top fin.  Whipstich the opening closed. Tack lining to hat.


Cut a 2" piece of velcro or longer depending on size of the child's head.  Attach to flaps.

Glue on the google eyes.  I used hot glue to glue them on.  Now you're done!

Wednesday, October 20, 2010

Pumpkin Candy Dispenser - Tutorial

 
I wasn't sure if I was going to do a tutorial on this because it is a little difficult to explain, but I'm going to give it a shot. 


First step is to use a fake pumpkin and cut a hole into the top, just like you would with a real pumpkin.  Then you will need to measure the inside dimensions of your pumpkin.  This way you will make sure you make the mechanism that dispenses the candy to fit. Now you need to cut a hole on the front of the pumpkin so that you have a place for the candy to shoot out.  I marked where I wanted the face to go ahead beforehand so I wouldn't make a mistake on how high or low I wanted to place the mouth.


Here is the tricky part, the mechanism.  I constructed most of it out of foam core.  You will have to fiddle with the dimensions to get it right since not all the fake pumpkins are the same size.  Also, keep in mind the size of candy you want to dispense.  I did the mini candy bars, but you could definitely go up a size and increase the hole. I was able to put most of the mechanism together outside the pumpkin, but had to put a couple pieces together inside the pumpkin.  That is a little difficult and you might want to go ahead and cut a hole on the bottom to make it easier on yourself.

 Here is the mechanism shown outside the pumpkin.

As you can see, it is basically a box with a hole in the top for the candy to fall through. It will hit the block of wood and then you will use the knob to get the candy out.


 The knob is connected to a small block of wood by a metal rod.  Once the candy is pushed by the knob it  will fall and hit the slide and shoot out the pumpkin's mouth. If you would like a video showing this being done, please let me know and I will upload one.  Now you will need to put another layer of foam core over the entire mechanism so you can hold all the candy.


Go ahead and draw a face on your pumpkin.  Make it as spooky or as silly as you want.  I opted for silly.
 
 
Now it's candy time.  Fill your pumpkin up with candy treats.You can either put the lid back on our add a hat like I did.

Tuesday, September 14, 2010

Toddler Trundle Bed Tutorial

Today I'm going to show you how I constructed the toddler trundle bed that I created for the SYTYC audition.

First, I measured the space under my queen bed to see how much space I had to work with. It ended up being approximately 24" x 44" if I wanted to clear my nightstand.  The height could be a maximum of 6" tall. I have included quite a few pictures to show you the process step by step.  Please pardon the messy garage. 
I used 1 x 4's to make the frame.  Mark the 1 x 4 at 24" and cut. Repeat so you end up with two pieces of this size.


Then measure to 43" and cut.  Repeat so you have two pieces of this size.


 I used glue to give it a stronger bond before I used the staple gun.


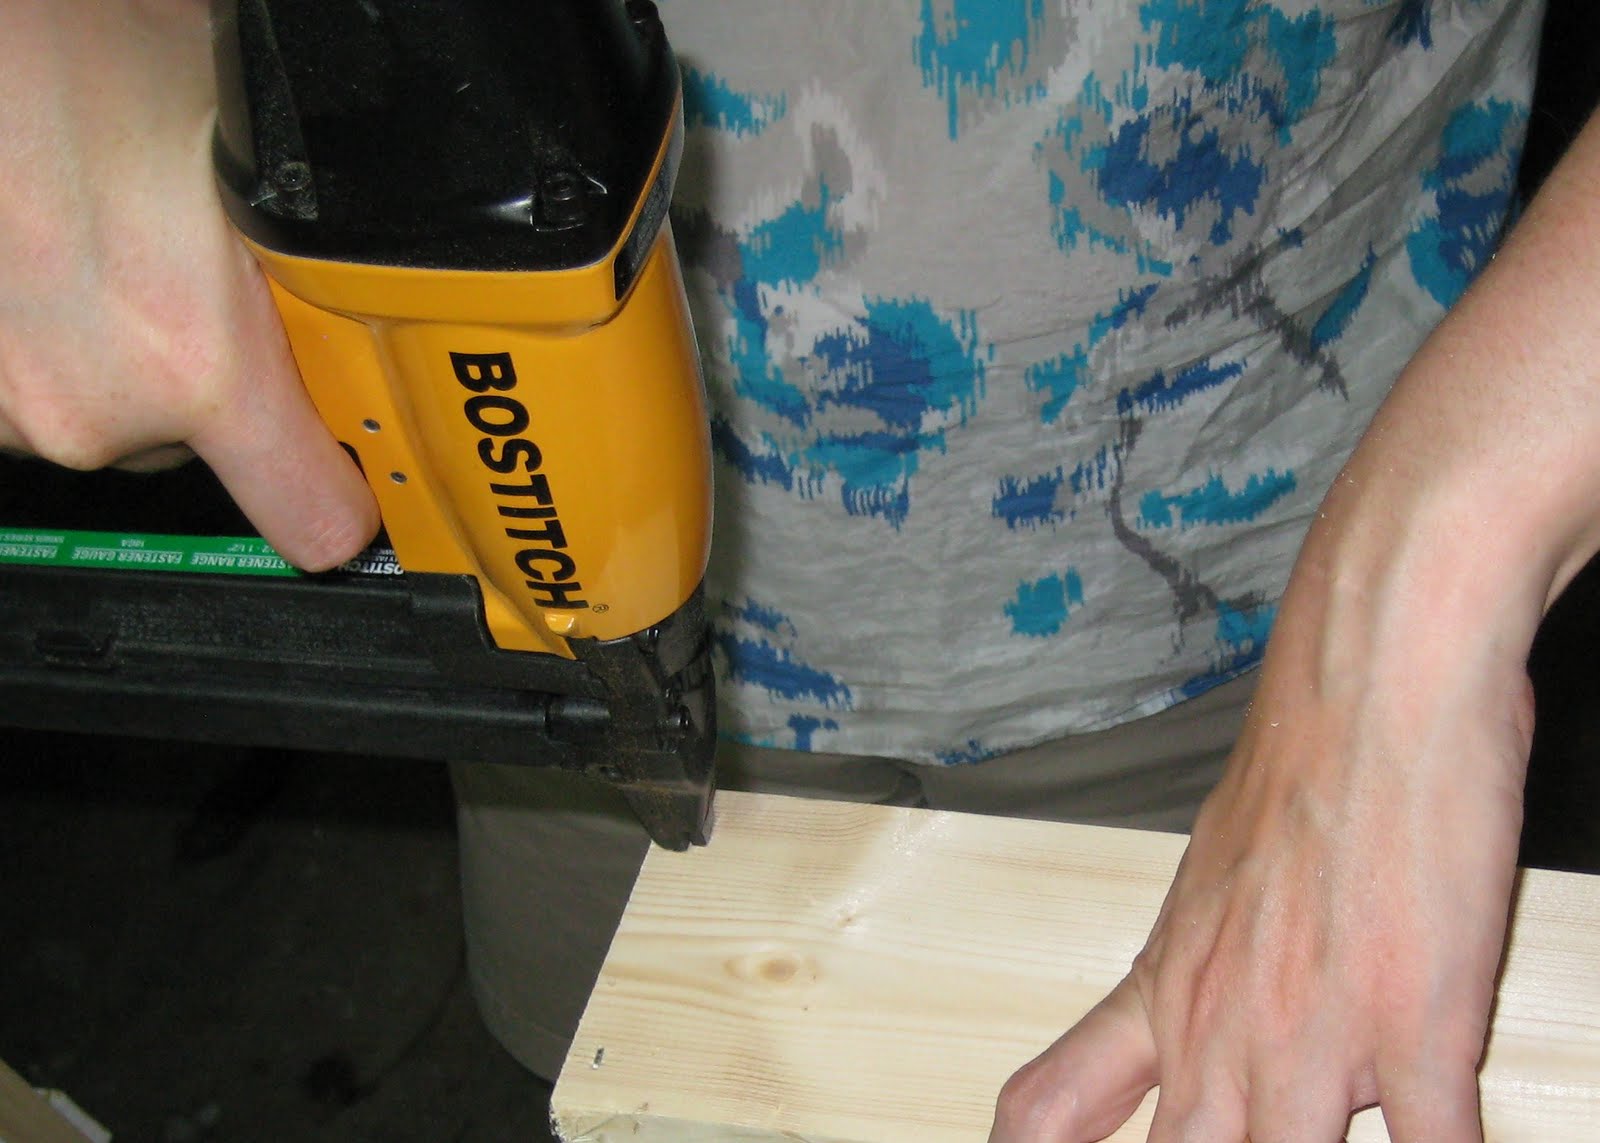
Staple wood pieces together to make the frame.


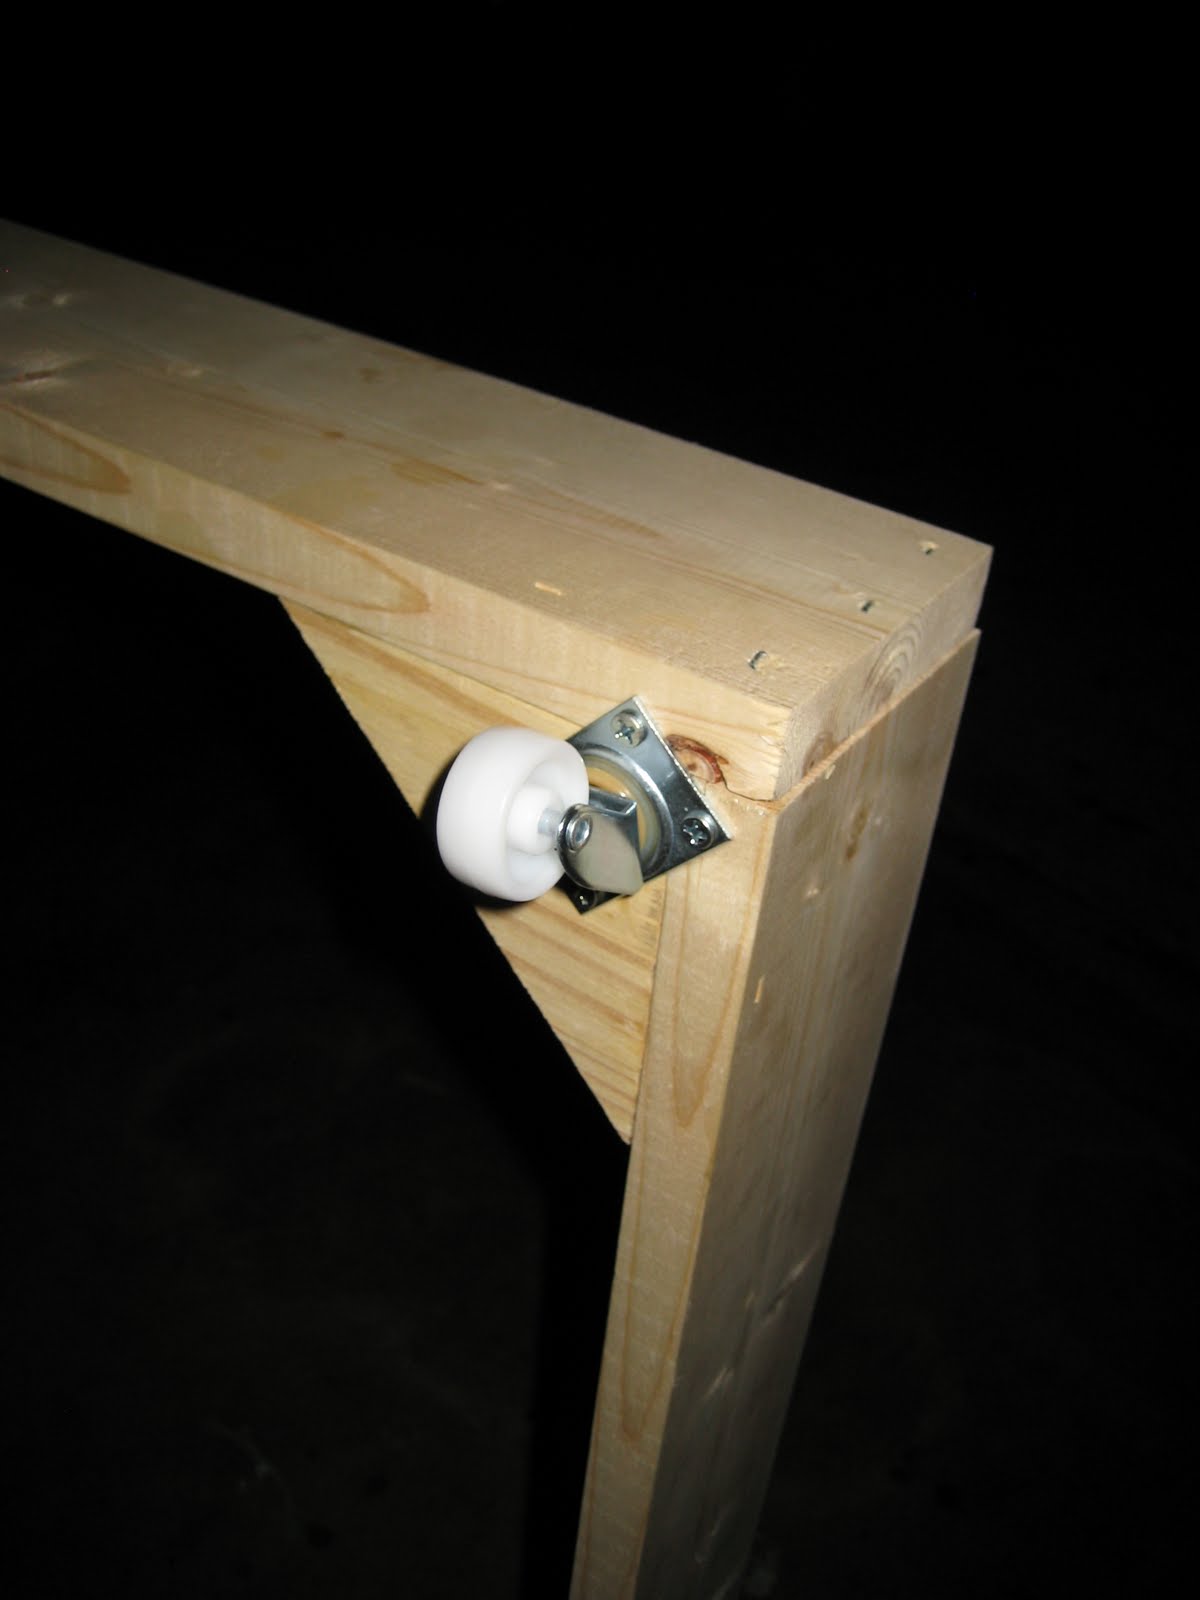
Now you need to cut four 45 degree triangles for the corners.  This allows for the inside frame to have support and will be where we install the casters.

 
I used glue again and then stapled it into the corners.


Attach 4 small casters in each corner.


Here is what we have so far.  Now we are going to move on to the inner frame that will support the foam mattress. 

I used 1 x 2's for the inner frame.  You will make this frame slightly smaller.  Measure your inside dimensions of your 1 x 4 frame and take a half inch off the length and width. Measure your 1 x 2 and cut the 4 pieces out.


Glue and staple frame together.


Now you are ready to attach the jute onto the frame.  Measure out your frame and decide how many pieces of jute you think you'll need.  I ended up using 4 pieces running the length of the frame and 8 pieces running the width. Staple them to the edge of your frame.  Space them evenly.


 Now you will need to weave the jute through and staple at the edge.


Here is the backside of the frame.  This shows you the location of where I put the staples. You will need to put in two extra supports running the width of the frame so that it gives it a little more support.  I don't have a picture showing this step, but if you have questions let me know.


Now set in frame to see if it fits.


The next step is to fill and sand the edges.  Then you are ready to paint the frame.


Now install the handle on the side. For the mattress I used 3" thick foam. I cut it to size using an electric bread knife. This is the easiest way to cut through foam.  It slices it like butter.  Place the foam on top of the jute frame. The bed is essentially complete.  Sheets will need to be made to fit since it is an unusual size.  I found instructions here to make your own fitted sheets.  Also, you might want to consider making a waterproof mattress cover as well since it is a toddler bed.  To complete the project I made the comforter and pillow case.


My daughter has already put it to use as you can see.