Showing posts with label easter. Show all posts
Sunday, April 8, 2012
Chick Eggs
I hope everyone enjoyed Easter! We had a great weekend with family. The cousins got together and dyed Easter eggs. Of course, I had to have my own little stash of eggs or I wouldn't get to make any. Haha. Here's a little nest of chicks that I made. I cut up tissue paper and glued it to the egg for feathers.
On this egg I used skinny tape and taped a design. Then I filled it in with crayon and dunked it in yellow dye.
Here's the fun part! On Easter we pock the eggs. Each person grabs a hard boiled egg and hits the end of their egg against someone else's egg. The one who's egg doesn't break is the winner and keeps playing. It's fun for all ages.
Monday, April 18, 2011
Cascarones aka Confetti Eggs
Cascarones or confetti eggs are a great Easter craft and kids love making them too. They originated in Italy, but are also a Mexican tradition as well. They can be hidden and once the person finds the cascaron they crack the egg on their friend's head. It is said to be good luck and you make a wish.
First, you will need to put a small hole on the end of the egg. I just crack it a bit and then hollow out a hole with a toothpick. Here is what it looks like.
Next, you will pour the egg out and rinse out the inside with water. Be prepared to make something with all of these eggs. We made omelets with ours.
Now we are ready to dye and decorate the eggs. The kids love this part.
After you dye the eggs you will need to let them dry before you put the confetti in. Here is where you can make your confetti or you can buy packaged confetti. We made a little bit of confetti before my daughter was done.
Once the eggs are dry you can fill the eggs with confetti. This can be a little messy and if you have a funnel on hand it is much easier.
To seal the egg you will need a piece of tissue paper a little larger than the hole in the egg. Place glue around the edge of the hole and put tissue paper on top.
Sunday, April 10, 2011
Easter Basket Liner
With Easter coming up I thought I'd show you a way to dress up your Easter basket with a liner. It's such a simple project and if you have some leftover fabric it's a great way to use up some of your scraps. Here's how you do it.
First measure your basket's height and circumference. Don't forget to add a little extra for seam allowance.
I traced the bottom on craft paper and made a pattern from there.
With right sides together sew the short ends of the long piece together. Don't sew them all the way to the top. You need to leave it open a bit so it can go around the handle. See the picture below.
Next you will baste the top edge. Gather the material till it fits the bottom piece.
Then you will pin the bottom to the side piece all the way around with right sides together. Sew together. It should look like this.
Now, here's where I either forgot to take pictures or don't have any, but as you see in the finished pictures. It has a ruffle around the edge that lays over the outside of the basket. Cut 2 pieces to make a ruffle for the liner. The length will depend on the basket and how ruffly you want it to be. Hem the long side of the fabric or you could add bias tape to the edge like I did. The other long side you will baste and gather to make a ruffle. Sew ruffle to liner with right sides together. Fold under edges and hem where the fabric meets around the handle. On my daughter's I added ribbon for a little bow to dress it up.
Happy Egg Hunting!
Linking up to - DIY Show Off , Keeping it Simple, Marvelously Messy, Tea Rose Home, Sew Much Ado, Blue Cricket Design, Creation Corner, Simply Designing, House of Hepworths
Monday, March 21, 2011
Easter Egg Wreath
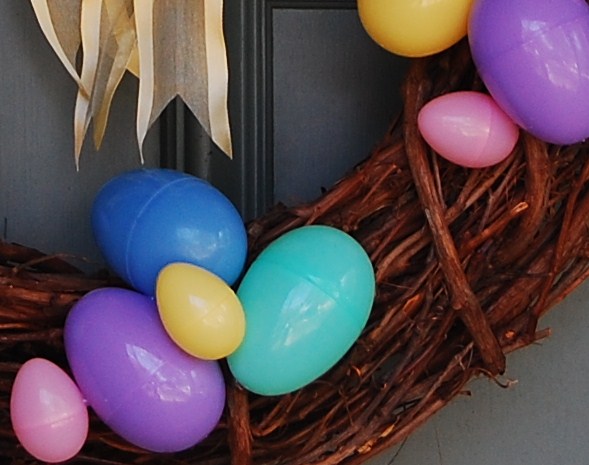
Here's a new DIY wreath that I made for Easter. It literally costs me less than two dollars. I reused a grapevine wreath and had the ribbon on hand. I found the plastic eggs on sale. Yay. It's such an easy project and looks very festive on your front door. Hot glue is key in this project and you will have the wreath done in no time.
Subscribe to:
Posts (Atom)


